

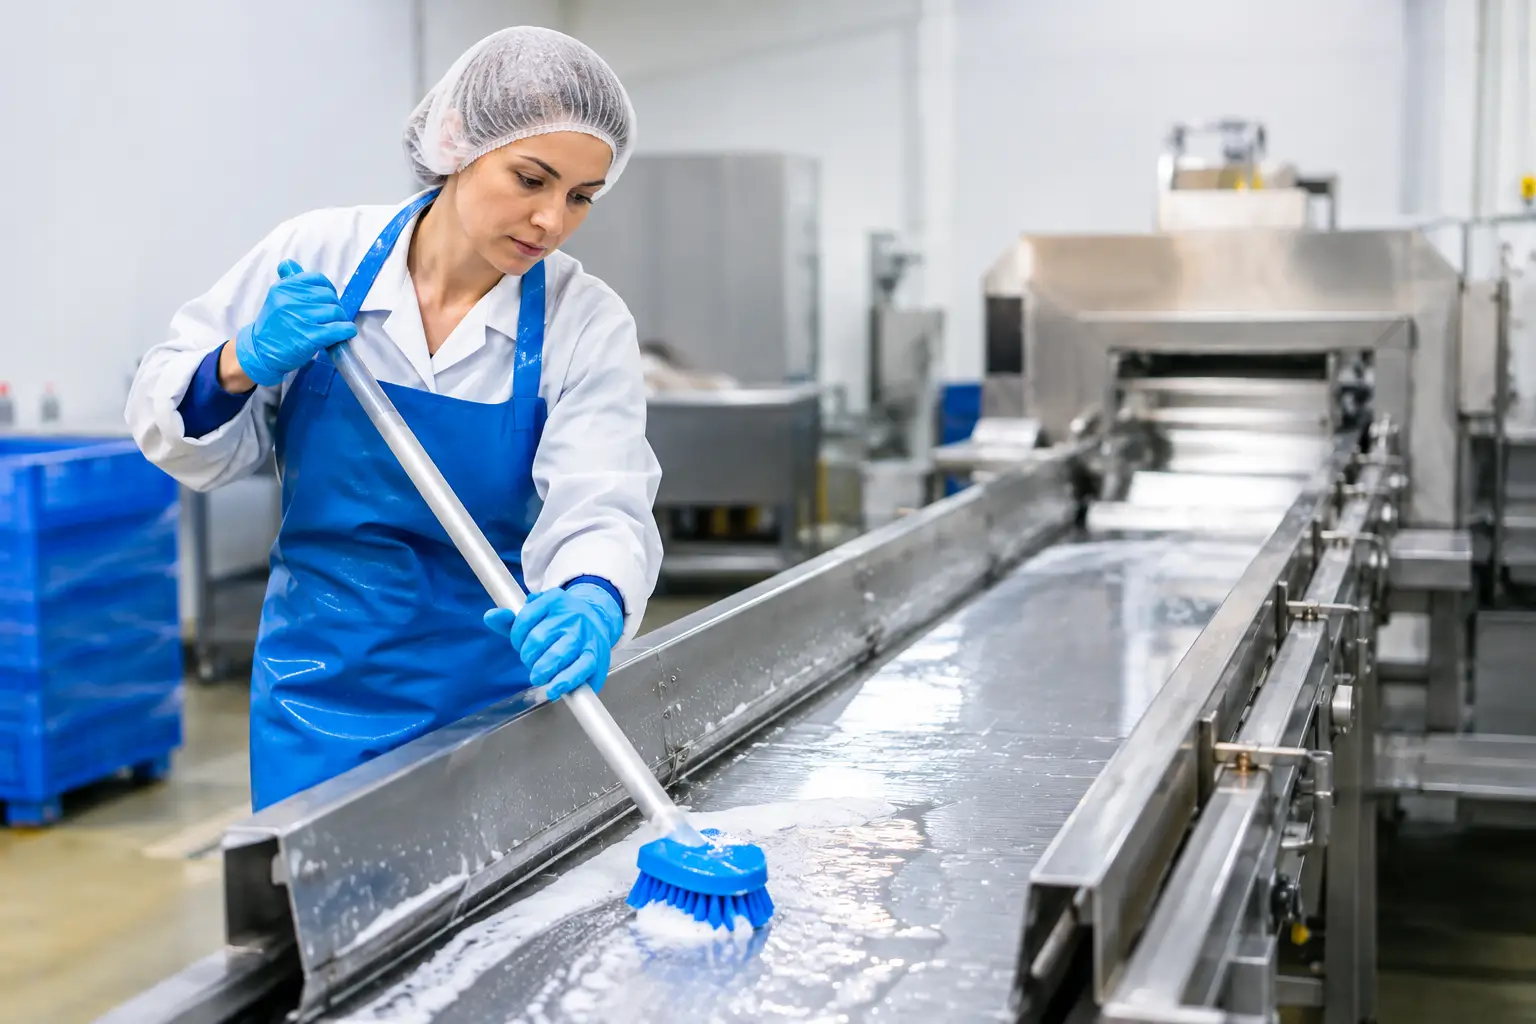
A food processing cleaning guide has to do more than tell employees to spray, scrub, and move on. On a production line, residue can harden in seams, collect under guards, and feed odors in drains long after a surface looks clean. The goal is a repeatable process that removes food soil, supports a hygienic operation, protects equipment, and gives supervisors proof that the work was done correctly.
For processors, cleaning is not a side task between runs. It is part of product quality, worker safety, uptime, and cost control. A rushed washdown can leave behind the very soils that make the next sanitation step less effective. A well-designed program does the opposite: it makes every shift more predictable.
Start With the Difference Between Cleaning and Sanitation
Cleaning removes visible and invisible soil such as proteins, fats, sugars, minerals, allergens, and food debris. Sanitation is the controlled step that follows cleaning to reduce microorganisms on already-clean surfaces. One cannot reliably replace the other.
That distinction matters because chemical strength is not a shortcut around poor soil removal. Grease, biofilm, dried ingredients, and standing water can shield surfaces from a sanitation solution. If an applicator, conveyor, slicer, or filler is not physically clean first, the rest of the process is compromised.
The right sequence depends on your product, equipment design, and soil load. A dry bakery line needs a different approach from a wet produce operation or a protein-processing room. Still, the core principle stays the same: remove soil first, then apply the approved sanitation step according to your documented procedures, required contact time, and applicable regulations.
Build Your Food Processing Cleaning Guide Around the Process
The strongest cleaning programs are built around actual production conditions, not generic wall charts. Walk the line after a normal run and identify where product accumulates, where water travels, and which areas are difficult to access without disassembly. Those are the places that determine whether a sanitation program succeeds.
1. Control the line before cleaning begins
Shut down equipment according to your lockout and safety procedures. Protect electrical components, remove exposed product, and separate tools used in raw and ready-to-eat areas. Color-coded brushes, squeegees, and containers help prevent a tool from carrying soil from one zone into another.
This is also the time to decide whether a dry cleanup is appropriate. In flour, powders, spices, and other low-moisture environments, adding water too early can turn manageable debris into paste and spread contamination into cracks. Vacuuming, scraping, and dry wiping may be the smarter first move. In wet operations, pre-rinsing can help loosen soil, but excessive pressure can aerosolize debris and push it into equipment gaps.
2. Remove gross soil before applying chemistry
Food residue is not uniform. Oils cling to surfaces, proteins bake on with heat, starches form films, and minerals leave scale. Use the right physical action and compatible cleaner for the soil at hand. Mechanical action matters: brushes, pads, foam, and controlled flow give cleaning chemistry time and contact with the surface.
Do not overlook undersides, framework, casters, control-panel edges, gaskets, hinges, drain covers, and conveyor return paths. These are common sites for buildup because they are inconvenient, not because they are unimportant. If a component cannot be cleaned consistently, that is an equipment-design issue worth documenting and escalating.
3. Rinse or wipe away loosened residue
After the cleaning step, remove the soil and cleaner residue as your procedure requires. Water quality, water temperature, and pressure all affect the outcome. More pressure is not automatically better. High pressure can create splash zones, force water into bearings, damage sensitive equipment, and carry debris beyond the area being cleaned.
Give floors and drains the same attention as food-contact equipment. Standing water, floor buildup, and neglected drains create persistent odor problems and can undermine the cleanliness of the room. Keep floor tools separate from food-contact tools, and work from cleaner zones toward dirtier zones whenever possible.
4. Apply the sanitation solution consistently
Once surfaces are visibly clean, apply the sanitation solution at the concentration and contact time specified in your approved program. Coverage is often the weak point. A solution cannot perform as intended if it never reaches the back of a guard, the underside of a belt, or the interior surface of a removable part.
On-site hypochlorous acid generation can simplify this step for many facilities. pH-neutral HOCl is produced from water, salt, and a small amount of organic vinegar, giving teams a practical option for cleaning, odor control, and pathogen-control routines without storing pallets of harsh conventional chemicals. Systems such as Microbe Ninja NinjaGen units can produce solutions at 200, 500, and 1,000 ppm, allowing operations to prepare what they need on site rather than depend on recurring deliveries.
Concentration alone does not define performance. Verify the concentration your program calls for, follow equipment and solution-use instructions, and account for factors such as organic load, water hardness, surface type, temperature, and required dwell time. Your facility’s hazard analysis, customer requirements, and local or federal rules should always guide the final procedure.
Train for Consistency, Not Just Speed
A cleaning crew needs more than a checklist. They need to understand why sequence, contact time, and tool control matter. When employees see sanitation as a box to check at the end of a shift, shortcuts become likely. When they understand how a missed gasket or dirty brush can affect the next run, they make better decisions without waiting for a supervisor.
Use short, task-specific training at the equipment itself. Show workers the hard-to-reach areas, the approved chemical dilution or generator settings, the correct applicator, and the condition that indicates a surface is truly clean. Then observe the process. Written procedures are useful, but direct verification reveals whether the procedure works in the real world.
For multilingual teams, rely on plain language, photographs, color coding, and hands-on demonstrations. A clear visual standard is often more effective than a dense page of instructions.
Verify the Result and Use the Data
Visual inspection is the first check, not the final one. A surface may look clean while still holding residue or microbial risk. Facilities should use verification methods that fit their risk level and documented food-safety plan. This can include pre-operational inspections, ATP testing, allergen checks, environmental monitoring, temperature logs, concentration checks, and periodic microbiological testing.
The point is not to generate paperwork. It is to find trends before they become product holds, customer complaints, or downtime. If one drain repeatedly fails inspection, if a filler zone shows recurring residue, or if odor returns after every weekend shutdown, treat that as a process signal. Review the tool, time, access, cleaning chemistry, water flow, and employee method instead of simply asking the crew to work harder.
Keep records simple enough to complete accurately. A useful record identifies the area cleaned, the person responsible, the solution or process used, the concentration when applicable, the verification result, and any corrective action. Digital logs can make trend review faster, but a well-managed paper system is better than an ignored app.
Reduce Chemical Burden Without Reducing Standards
Food processors face a practical trade-off. They need strong hygiene controls, but they also need to protect employees, surfaces, budgets, and production schedules. Harsh chemicals can create storage concerns, strong odors, residue-management work, and supply-chain exposure. They may still have a place in a specific program, especially for difficult soils or specialized equipment. The smarter goal is not to use the strongest product everywhere. It is to use the right process for each task.
On-site HOCl generation offers a compelling operating model because it reduces dependence on shipped chemical inventory and allows facilities to make fresh solution as needed. For a small processor, that can mean fewer bottles and simpler daily routines. For a larger operation, it can mean distributed dispensing, consistent application, and lower cost per batch. The best setup depends on facility size, number of shifts, water access, and the volume of solution used each day.
A clean line does not happen because one product promises a quick fix. It happens when people, procedures, equipment, and verification work together. Start with the stubborn soil your team sees every day, improve the process around it, and make each cleaning cycle easier to repeat with confidence.
Comments are closed